Did you know that our Cortex software enables you to merge multiple captures? Or that if your gait analysis subject strikes two force plates at the same time, Cortex can combine them, whether they’re the same make or not, to formulate the data you need?
Whether you’re a long-time user of our powerful Cortex software or you’ve recently started using it, there are a number of features you may not know about that will make your 3D motion capture experience that much easier.
We’re going to talk through just five of our favorite Cortex features, but you can always launch the full manual, available in Cortex via the “Help” button on the menu, to find out more.
1. Easy camera coverage with just a few clicks
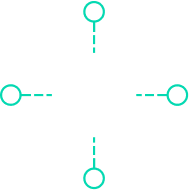
When you are positioning a camera to cover a capture volume, you’ve got to know how many cameras you’ll need and the areas they need to cover. To check if your cameras can cover your desired volume without wasting pixels, you can use virtual camera aiming (seen in the image below), that allows you to reposition and orientate your camera in the virtual world.
Bonus feature: Cortex also comes with a free VolumeBuilder App, which will enable you to work out if extra cameras are needed. You can find it in the same folder as Cortex.exe.

2. Ready, steady, renumber your cameras
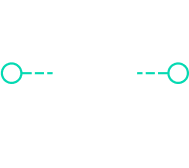
Let’s say you’ve just brought 42 of our new cameras and you’ve carefully written a number on each camera and placed them around the room, but then, to your frustration, the numbers on the camera display are not showing in the order you’ve put them up in.
Don’t fear – you can renumber them afterwards in the software, choosing to label which is Camera 1, which is Camera 2 and so on, in any order you want. The cameras will change their display number and follow the order you set, saving those details into the setup file.
3. Manual masking no longer has to be a task
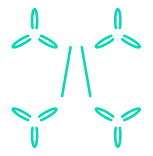
When you’re doing a calibration and the camera sees something bright and shiny that appears to be one of our markers but isn’t, it will cause problems at the calibration stage. Usually the masking system allows you to manually draw a mask around the stray bit of light, to get it out of the way for the calibration process.
Our cameras, however, have an automask feature, which automatically draws the smallest possible masks around shapes, making the process quicker and easier.
What you may not know is that if you load an old setup, you won’t need to go through the arduous process of deleting existing masks. Automasking deletes those for you before adding new ones.
4. You determine the (prop) origin story
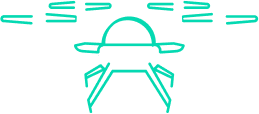
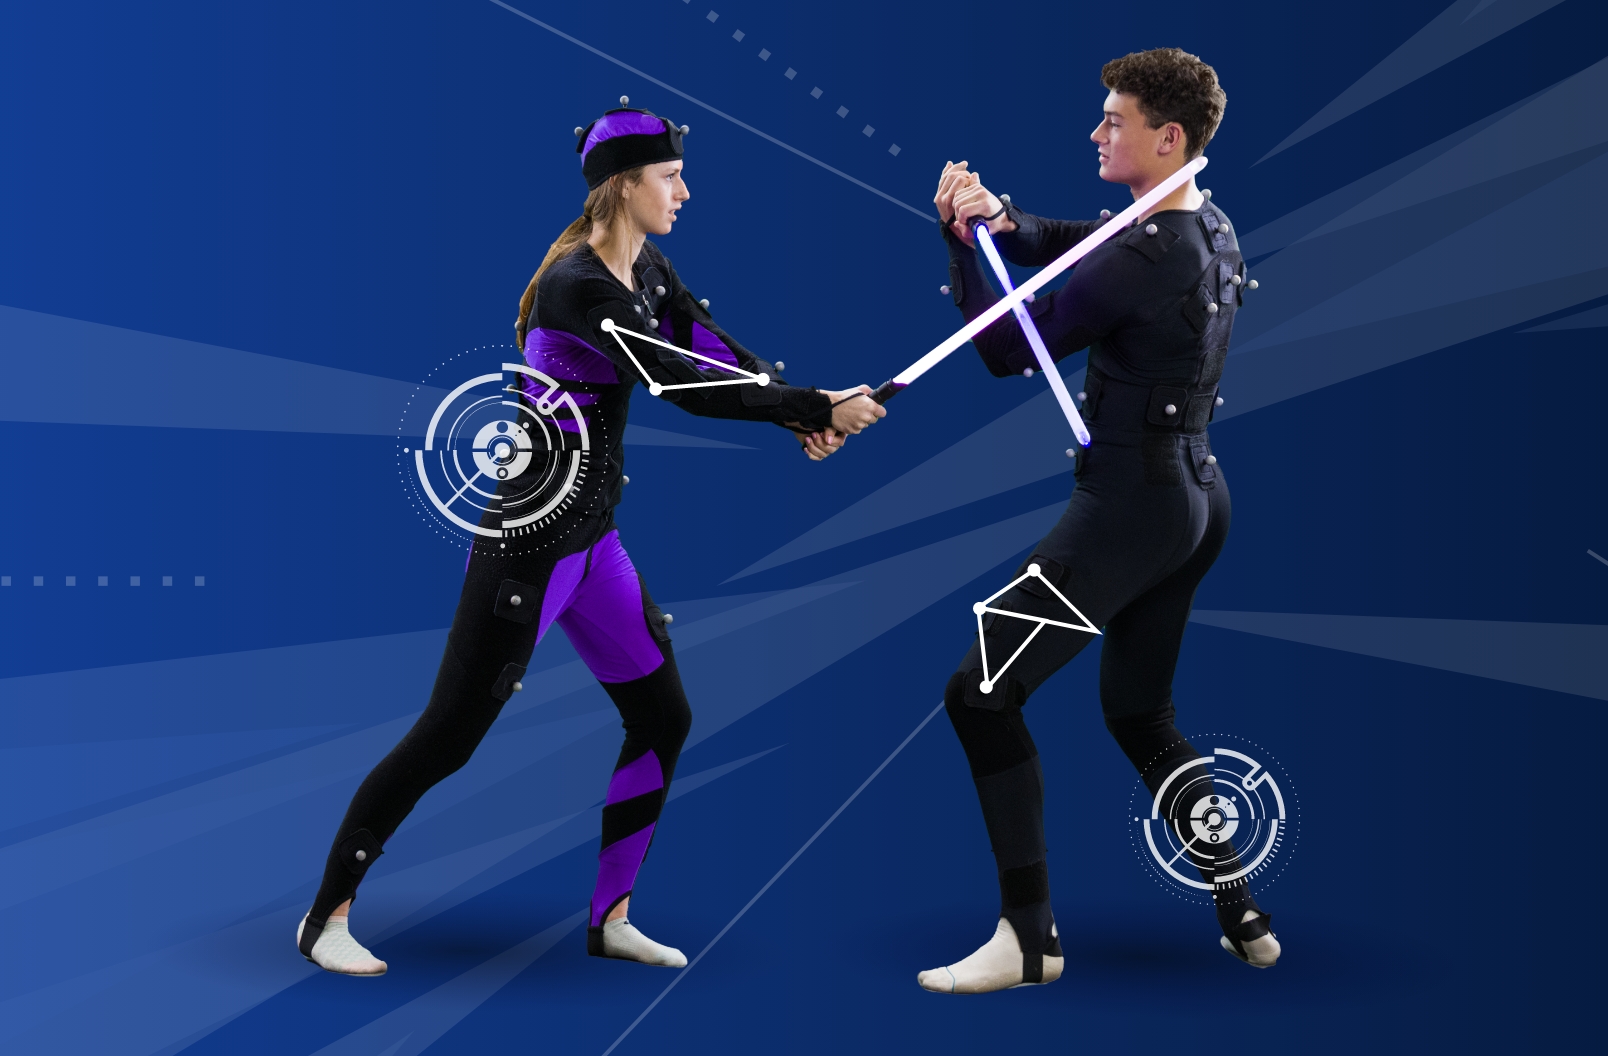
A prop is a special marker set for rigid objects such as drones, robots, swords, or guns. With Cortex, you can move the origin of that prop and set it to be anywhere you like.
If you need the local origin of a prop to be at a specific place you can choose for it to align with the global origin (very useful for animation skins that need to align with a subject); be at the geometric average marker value; at marker number one (you define which that is), or anywhere else if these shortcuts aren’t what you need. So, all you have to do is create your 3D sword in your software package, leave the wooden toy version lying on the floor with its handle at the origin, set the template so you can measure the prop to be the capture volume origin, and all your alignment happens for free.
5. Never miss out on a moment, with post-event trigger
During the recording or streaming phase, you might be looking to capture the specific moment that causes your subject to slip and fall, and the worst thing that can happen is that you miss the event. This often happens in motion capture as events can be so brief and fleeting.
Fortunately, computers can buffer data. Which means, instead of just leaving your system recording all day, and then later trying to pore through hours of data to try and find the event, Cortex can continuously buffer data before an event, to be written to disc after you start or stop the rest of the capture.
We call this post-event triggering. And what it means is that the system will keep in memory, for example, two seconds of data at a time. When you press “start” to begin recording, the system will save those two seconds and then continue recording until you press stop again. This will give you two plus however many seconds of data you had it running for. The best part is you can do it after the event has occurred.
You can also leave it streaming in live mode, and then use post-event trigger based on something you’ve seen happening in real time, in order to get the recording.
Considering switching to Motion Analysis and interested in experiencing our Cortex software?
Contact us here for a demo